
Small Kitchen Decorating Ideas for Renters: Reversible Updates That Protect Your Deposit
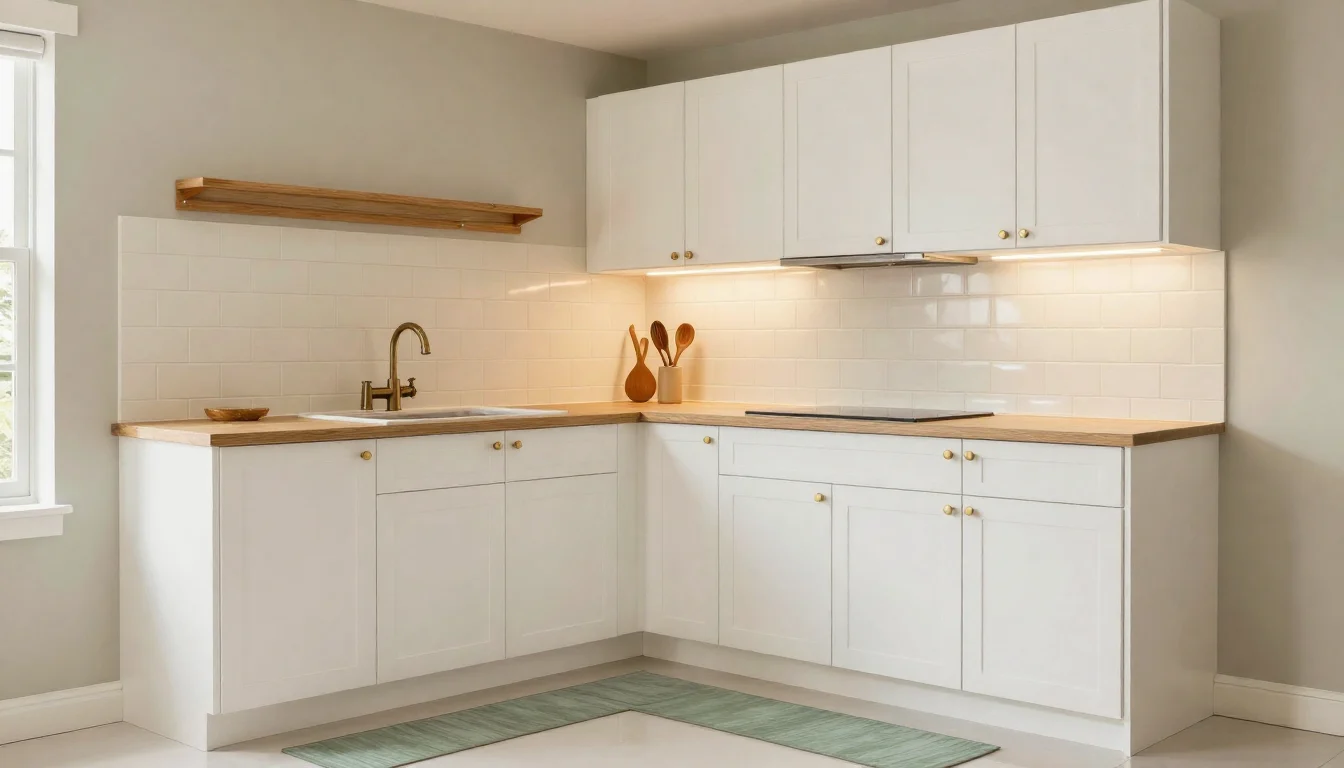
A rental kitchen often comes with someone else’s choices: dated cabinet doors, a plain wall behind the stove, one harsh ceiling light. You cook there every day, so it is fair to want it to feel like yours, even if you can’t renovate.
The good news is that most of the best small kitchen decorating ideas for renters are reversible. They rely on swaps, freestanding pieces and soft touches rather than demolition. The catch is that a kitchen is hard on decor. Heat, steam, grease and knives test every adhesive and fabric you bring in.
This guide walks through what to check before you start, which updates give the most visual change, the trade-offs of each, and how to undo everything cleanly when you move out.
Key takeaways
- Read the alterations clause in your lease, photograph the kitchen as it is, and get permission for anything semi-permanent in writing.
- Measure first: hardware hole spacing, outlet locations, walkways and door swings, and the wall surface you plan to cover.
- Peel-and-stick backsplash and contact paper can transform a kitchen, but heat, water and removal are the real limits. Follow the maker’s guidance and test a hidden patch.
- Keep towels, curtains and anything that can catch fire away from the stovetop.
- Freestanding pieces, textiles, art and dishware add personality with the least risk to your deposit.
In this article
- Start With Your Lease, Your Camera and a Written Yes
- Measure and Check Before You Shop
- Backsplash Ideas: Peel-and-Stick and No-Adhesive Options
- Cabinet Hardware and Contact Paper
- Renter-Friendly Lighting: Brighter Prep Space Without Rewiring
- Storage You Can See: Rails, Shelves and Rolling Pieces
- Soft Touches: Textiles, Art, Color and Plants
- Moving Out: Undo Everything Cleanly
Start With Your Lease, Your Camera and a Written Yes
Before buying anything, read the part of your lease that covers alterations, decorating or fixtures. Some leases ban adhesives on walls, some require approval for any change to cabinets, and some say nothing at all. Knowing which one you have tells you how far you can go.
Next, photograph the kitchen as it is today. Take wide shots of each wall and close-ups of anything already worn: chipped cabinet edges, scuffed paint, stained grout, loose hinges. Save the photos somewhere dated, such as a cloud folder or an email to yourself.
For anything semi-permanent, like a backsplash, new cabinet pulls or wall-mounted shelving, ask your landlord or property manager in writing. Describe what you want to do, how you’ll remove it, and offer to restore the original at move-out. A short email with a clear yes is far more useful later than a friendly chat.
This matters because of how deposits work. In many places, landlords can deduct for damage but not for normal wear and tear, and how the two are defined varies by location. Rules differ between countries, states and regions, so check the tenant guidance where you live, such as a state guide like the Texas State Law Library’s security deposit page in the US or official housing advice elsewhere.
If you rent: Photograph the kitchen before changing anything, and get permission for semi-permanent updates in writing. Dated photos and a written yes are your best evidence at move-out.
- Find the alterations or decorating clause in your lease.
- Photograph every wall, cabinet and countertop before you change anything.
- Request written permission for backsplashes, hardware swaps and anything drilled.
- Keep the permission email with your lease paperwork.
Measure and Check Before You Shop
Small kitchens punish guesswork. A rolling cart that blocks the dishwasher door, or pulls that need new holes, can turn a quick refresh into a headache. Spend a few minutes measuring and noting what you have.
Look closely at the wall you might cover. Is it painted drywall, glossy paint, textured plaster or existing tile? Adhesive products behave differently on each, and tile makers publish their own guidance on which surfaces suit their products, such as the Smart Tiles FAQ. If the wall is chalky, freshly painted or textured, adhesives may grip poorly or lift paint when removed.
Also notice how the kitchen actually works: where you stand to chop, which drawers you open most, where steam rises when you boil pasta. Decor that sits in those zones needs to be easy to wipe or wash.
- Hardware: measure the center-to-center distance between screw holes on existing pulls so replacements fit without drilling.
- Outlets: note where they are before choosing plug-in lights or appliances you want to display.
- Walkways: measure clear floor space and how far the oven, dishwasher and fridge doors swing open.
- Wall surface: identify the finish and look for peeling or chalky paint.
- Window light: note whether your windowsill gets direct sun, bright indirect light or very little, before buying plants.
Backsplash Ideas: Peel-and-Stick and No-Adhesive Options
A backsplash is often the biggest single visual change you can make in a rental kitchen. Peel-and-stick tile comes in patterns that read as subway, zellige-style, marble or graphic prints, and it covers a plain or dated wall quickly.
The main limit is heat. The wall behind and beside a range takes the most of it, and products vary in what they’re designed to handle. Read the specific product’s instructions about cooktop use and any clearance it recommends, and if your setup isn’t covered, keep the product away from the range. Guidance may also differ for gas, electric and induction ranges, so follow what the instructions say for your type. Brand guidance, like the Smart Tiles FAQ, is the place to check, not general advice online.
The second limit is removal. How cleanly tile comes off depends on the paint underneath and how long it has been up. Stick a small piece somewhere hidden, such as inside a pantry or behind the fridge, leave it for a while, then peel it off slowly to see what happens. This hidden-patch test works for any adhesive surface covering.
If the test goes badly, or your landlord says no, there are gentler ways to get the effect:
Safety note: Peel-and-stick tile isn’t automatically suitable behind every range. Check the specific product’s guidance on cooktop use and clearance, and use a lower-risk alternative if your setup isn’t covered.
- Lean a large framed print, tile sample board or painted panel against the wall at the back of the counter, away from the range, and make sure it can’t slide toward the cooktop or sink.
- Use a sealed or wipeable tray or board as a mini backsplash, lift it regularly to dry the wall behind, and keep unsealed wood out of the splash zone.
- Group a few ceramic plates or crocks against the wall to create a colorful focal point without adhesive.
- Choose a wipeable finish for anything near the sink, where splashes are constant.
Cabinet Hardware and Contact Paper
Swapping cabinet hardware is a popular renter update, and lists such as Apartment Therapy’s cheap renter-friendly improvements include it. It’s affordable, visible and easy to undo. Matte black, brass or ceramic pulls can make plain doors feel intentional.
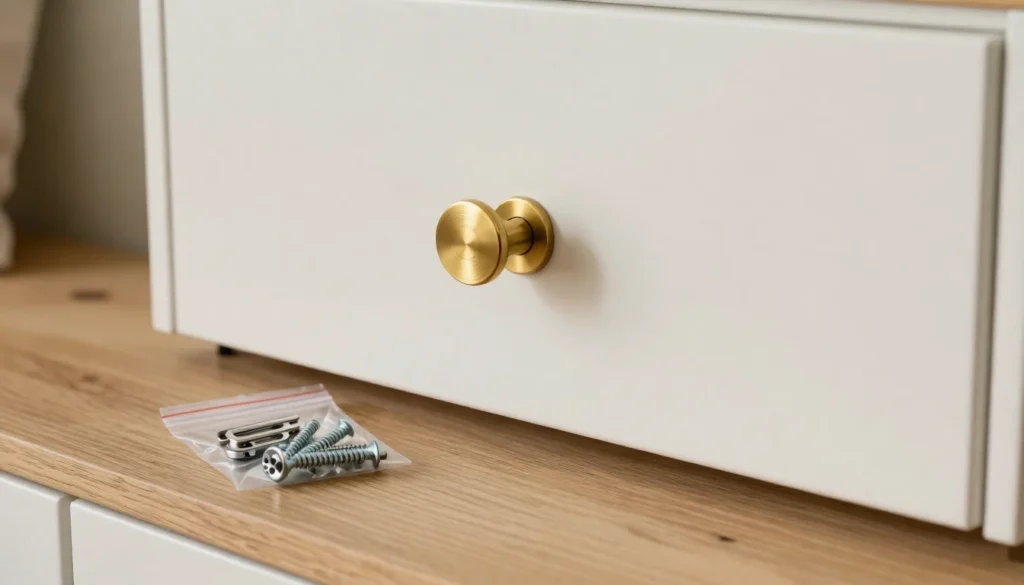
Use your hole-spacing measurement to buy pulls that fit the existing holes. Remove the originals carefully, put them and their screws in a labeled bag, and store it with your lease paperwork. Restoring the kitchen later is then a quick swap.
Contact paper on cabinet fronts or counters is a bigger visual change but a shorter-term one. Heat from pans, knife marks and water creeping into seams wear it out, especially on counters. Treat it as a temporary refresh rather than a permanent surface, and keep hot pans off it and don’t cut directly on it.
Removal is where contact paper can cost you. Some guides suggest warming the adhesive with a hair dryer to help it release. Before covering a whole door, use the same hidden-patch test described in the backsplash section, on the same surface.
- Check pull screw length suits your door thickness.
- Bag and label original hardware and screws.
- Confirm your landlord is fine with contact paper on cabinets or counters before you buy it.
- Use trivets and boards on any covered countertop.
Renter-Friendly Lighting: Brighter Prep Space Without Rewiring
Many rental kitchens rely on a single overhead fixture that throws shadows right where you chop. Adding a second layer of light makes the room more useful and, for many people, more inviting in the evening.
Battery-powered or plug-in under-cabinet lights need no electrician. Battery versions keep the counter clear but need regular recharging or new batteries. Plug-in versions are steadier but bring visible cords and depend on where your outlets are. Follow the manufacturer’s instructions on installation, cord routing and load, and keep any cords away from the sink and the cooktop.
A plug-in pendant hung from a ceiling hook, or a small lamp on a corner of the counter, can add warmth over a dining nook. A ceiling hook involves drilling, so ask your landlord first. Use a hook rated for the fixture’s weight and follow the pendant and hook manufacturers’ instructions on mounting and cord routing. Keep lamps well away from water and heat sources.
Anything that changes the building’s wiring, including replacing a ceiling fixture, is a job for the landlord’s approval and a qualified electrician, not a weekend project.
Mood is personal. If you like a cozy feel, warmer light may suit you; if you mostly cook and want clear visibility, brighter, neutral light may feel better. Treat this as preference, not a rule.
- Before buying, check outlet distance against cord length.
- Decide honestly whether you’ll keep up with recharging or replacing batteries.
- Check the light’s instructions for suitable mounting surfaces and use near heat or steam.
- Get landlord approval before any ceiling hook or hardwired change.
Storage You Can See: Rails, Shelves and Rolling Pieces
In a small kitchen, storage is decor. Pretty jars, wooden spoons and stacked bowls add character when they’re out in the open, and getting them off the counter makes the room feel calmer.
Wall rails with S-hooks, tension rods inside cabinets or under the sink, and slim open shelves all put vertical space to work. Each item has a weight limit set by its manufacturer. For rails and shelves that screw into the wall, use the anchors or fixings the manufacturer specifies, or studs where the instructions call for them, and get permission first since that means drilling. Adhesive versions are especially sensitive to heat, steam and grease. Retail listings, such as this one for water-resistant Command refill strips, show 3M offers versions marketed for damp areas, but you still need to follow the stated limits and surface guidance on the package.
Open shelves have a trade-off worth knowing in advance: in a kitchen they collect a film of grease and dust. Keep what you use often on them so things get washed in rotation, and store rarely used pieces behind doors.
Freestanding furniture is the most renter-proof option of all. A rolling island, bar cart or baker’s rack needs no installation and moves with you. It does use floor space, so check your walkway and door-swing measurements before buying.
Try this: Before mounting rails or shelves, look up the manufacturer’s weight limit and stay within it. Heavier items belong on a freestanding cart or rack instead.
- Rails and hooks for utensils and mugs.
- Tension rods for lids, cutting boards and cleaning bottles.
- Open shelves for everyday dishes you wash often.
- A rolling cart for extra prep space that can be pushed aside.
Soft Touches: Textiles, Art, Color and Plants
When you can’t paint, color and texture come from what you bring in. A patterned runner, a café curtain, colorful dishware or a painted freestanding cart can give the room a personality of its own. Think of these as inspiration and follow your own taste.
Textiles need careful placement in a kitchen. Fire safety guidance, such as the North Carolina Office of State Fire Marshal’s cooking advice, recommends keeping anything that can catch fire, including oven mitts, towels, food packaging and curtains, away from the stovetop. Hang tea towels on a hook or rail away from the range rather than on the oven door handle, so they stay clear of the cooktop, and choose curtains for windows that aren’t near the range.
Put a non-slip pad under any rug so it doesn’t slide or bunch underfoot, and choose washable fabrics, since kitchen textiles pick up splashes and grease.
Art adds warmth too. Glazed frames are easier to wipe, and keeping art away from the range and sink helps it last. Lean frames on a shelf or the counter if your lease limits wall hanging, and make sure they can’t slide toward the cooktop or sink.
Herbs and plants depend on light and on who else lives with you. Match plants to the light you noted earlier, and if you have pets, check a pet-poison plant database before buying anything new.
- Check care labels before buying, so rugs and curtains can go in the wash.
- Measure how close a window is to the range before choosing a curtain for it.
- Give towels a dedicated hook before they end up draped near the stove.
- Check plant safety for pets before bringing greenery home.
Moving Out: Undo Everything Cleanly
Reversible decor only protects your deposit if you actually reverse it well. Give yourself time before the final inspection rather than peeling things off on moving day.
Adhesive hooks and strips should come off according to the maker’s instructions. For Command products, guides such as RentHop’s how-to describe stretching the tab slowly straight down along the wall rather than pulling it outward, which can tear paint. Check the package instructions as well.
Remove backsplash tile and contact paper early enough that you have time to clean any residue gently, following the product guidance, and to check the wall in good light.
Finally, reinstall the original hardware from your labeled bag, and take a fresh set of photos that match the ones you took when you moved in.
- Remove adhesive products using the manufacturer’s method.
- Schedule tile and contact paper removal early enough to clean residue before inspection.
- Reinstall original hardware and fixtures.
- Take move-out photos that mirror your move-in set.
Frequently asked questions
Do I need my landlord's permission for a peel-and-stick backsplash?
It depends on your lease. Some leases ban wall adhesives or require approval for any change. Even if yours is silent, asking in writing and explaining how you’ll remove it is the safest way to protect your deposit.
Can I put contact paper on rental countertops?
You can, but treat it as a short-term refresh. Heat, knives and water at the seams wear it out, and removal can leave residue. Test a hidden area first, use trivets and cutting boards, and keep hot pans off it.
Are adhesive hooks and strips a good idea in a kitchen?
They can work away from the stove and sink, but steam, heat and grease affect how well they hold. Check the product’s surface and weight guidance, consider water-resistant versions for damp spots, and remove them using the manufacturer’s method.
What's the lowest-risk way to make a rental kitchen feel personal?
Things that need no installation: a washable runner with a non-slip pad, colorful dishware on display, leaning art, a rolling cart and plants suited to your light. They change the mood without touching walls or cabinets.
The best small kitchen decorating ideas for renters share one quality: you can undo them. Start with your lease, your photos and a written yes, then measure before you shop.
From there, pick the updates that suit your kitchen and your landlord: a backsplash or a leaning panel, new pulls with the originals saved, an extra layer of light, visible storage and a few soft, washable touches kept clear of the stove. Your kitchen can feel like home now and still hand back cleanly when you move on.
Sources
- www.tenantresourcecenter.org — Distinction between normal wear and tear and damage for security deposit deductions.
- guides.sll.texas.gov — Example of a US state guide to security deposit rules.
- thesmarttiles.com — Peel-and-stick tile maker guidance on suitable surfaces and use near cooktops.
- www.apartmenttherapy.com — Cabinet hardware swaps included in a list of cheap renter-friendly kitchen improvements.
- www.hunker.com — Warming contact paper adhesive with a hair dryer to help removal.
- www.amazon.com — Retail listing showing water-resistant Command refill strips marketed for damp areas.
- www.ncosfm.gov — Keeping items that can catch fire away from the stovetop.
- www.renthop.com — RentHop guide describing removing Command strips by stretching the tab straight down along the wall.
Illustrations in this article are concept renderings, not photographs of real homes or projects. This article was checked against the sources listed above and our editorial policy.